Learning 3D Modeling: Week 3
This week I learned how to create NURBS (non-uniform rational basis spline… just look it up). We’ve been working with creating with polygons up to this point, and our assignment was to model at least 4 things with NURBS. NURBS are basically planes that can be manipulated in the space to create shapes like cubes, spheres, cones, toruses, etc. and are also good for modeling curves and complex shapes with smooth surfaces.
I decided to try to model the clasp and strap with NURBS. I imported this top-down reference image of the type of clasp I was imagining into Maya, and used a combination of the “CV curve” and “three-point arc” tools to draw the outlines of each part. Then I duplicated it, translated it up, and used the “Loft” function bridge the gap between the curves to create a lofted shape.

Then I converted the NURBS immediately to polygons, deleted extraneous faces and added edge loops to make each component smooth.

To make the strap, I created a curve that follows the profile of the strap I was imagining, and used the “extrude” function on a long and narrow rectangle following the path of that profile to look like a strap.


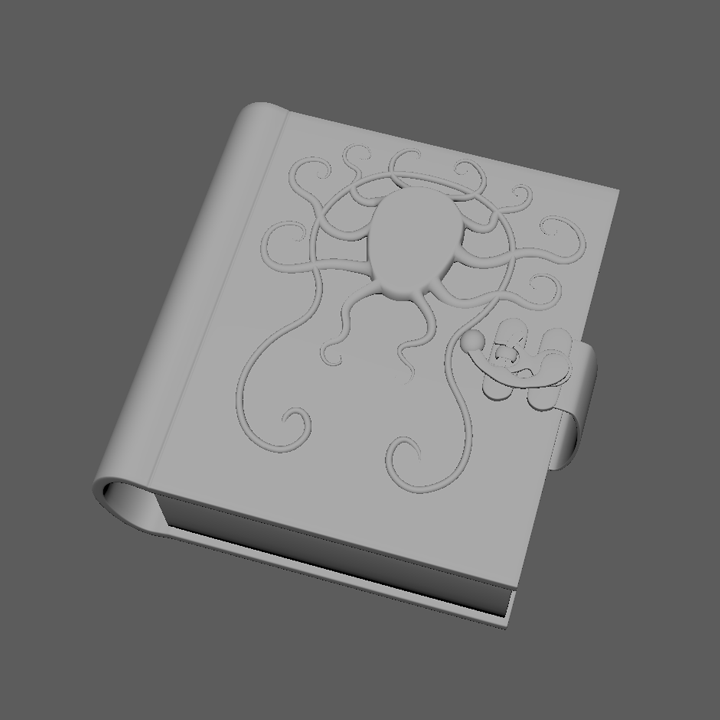
Now the fun part is going to be modeling the tentacley Cthulhu face on the cover similar to the reference. I may end up scrapping this part and starting over, but to start, I decided to use NURBS curves and extrude flat trapezoids along each curve to the make the tentacles. Seems like a promising beginning, but I need to figure out how to model the center skull shape so it’s more organic with eye sockets and bony ridges rather than this flat oval.


It felt pretty good to work in Maya this week; I think I was breaking through some mental barriers as I encountered issues and tried to find solutions on the web. It feels better knowing that when you need help, someone else has already encountered that problem, and someone else has helped them out.
Side note: I ended up liking working with NURBS a lot, but it crashed Maya on my mac like every couple of minutes.