Learning 3D Modeling: Week 5
The week 5 assignment was to start working with surfacing and adding textures to the model. There are several basic kinds of surfaces in Maya, from the most basic solid gray “Lambert” to materials that are shiny and reflective like “Anisotropic”. And Maya can take the shape of your 3D model, and distribute it over a flat texture image to create the look of textured objects, this is called UV mapping. It’s a pretty cool concept, and one that I think many are familiar with even if they aren’t thinking about it. If you have ever used Google Earth, you’re looking at a 3D reprentation of the landscape with photographic textures UV mapped onto the contours. Oh, and “UV” is just the conventional name of these coordinates, like “XY”.


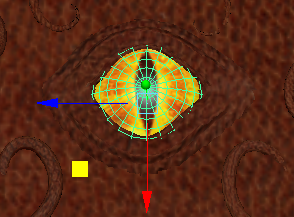
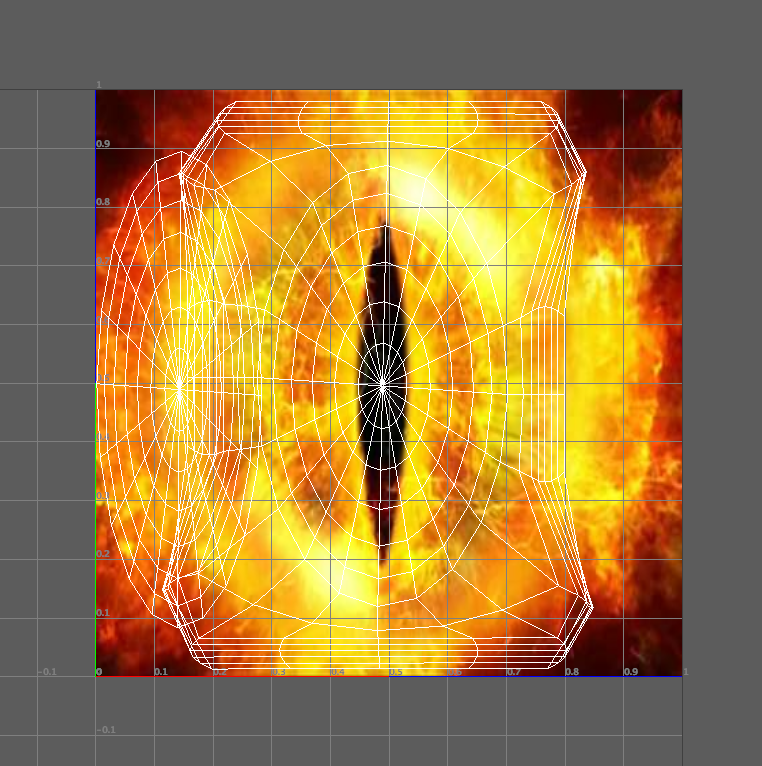
Anyway, I started adding texture to my model, and trying to figure out this UV mapping thing. Here’s an example of the UV mapping on the eyeball. I grabbed a texture from the web, you may recognize it as the eye of Sauron. Maya creates UV shells out of the model and stretches them onto the UV map. Then I had to mess with the edges and shells to make the texture fit the shape as desired.


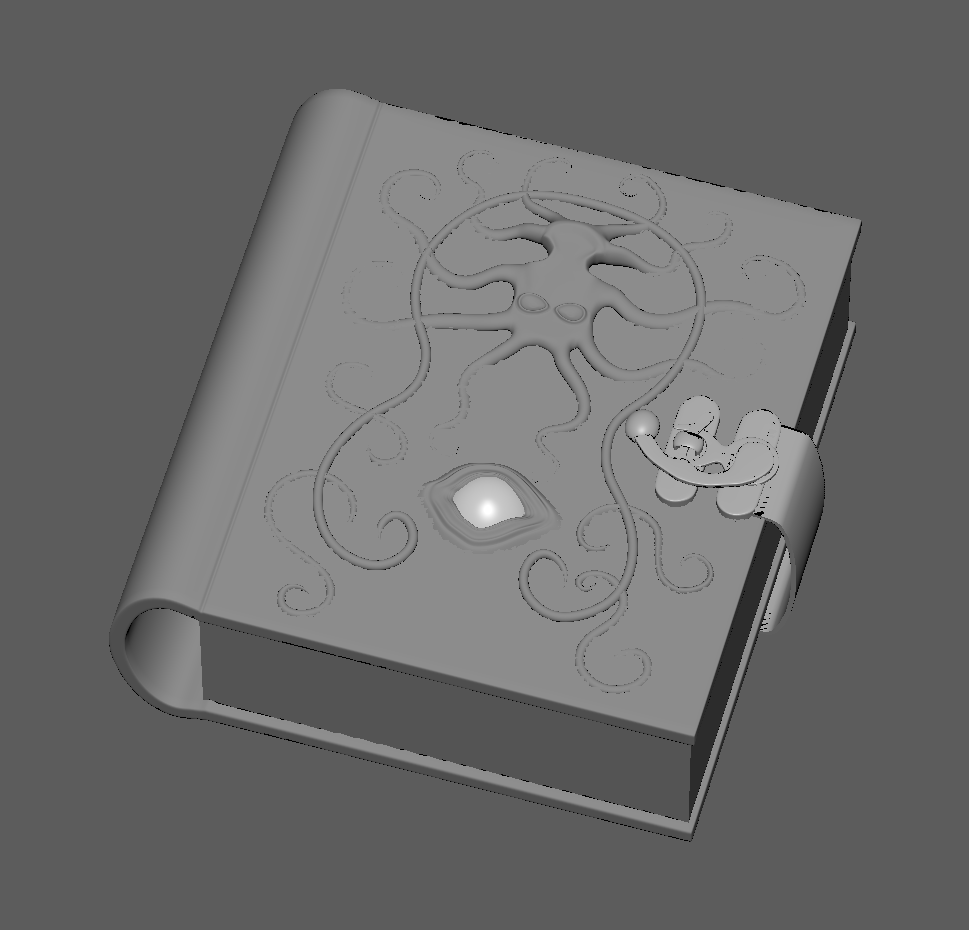
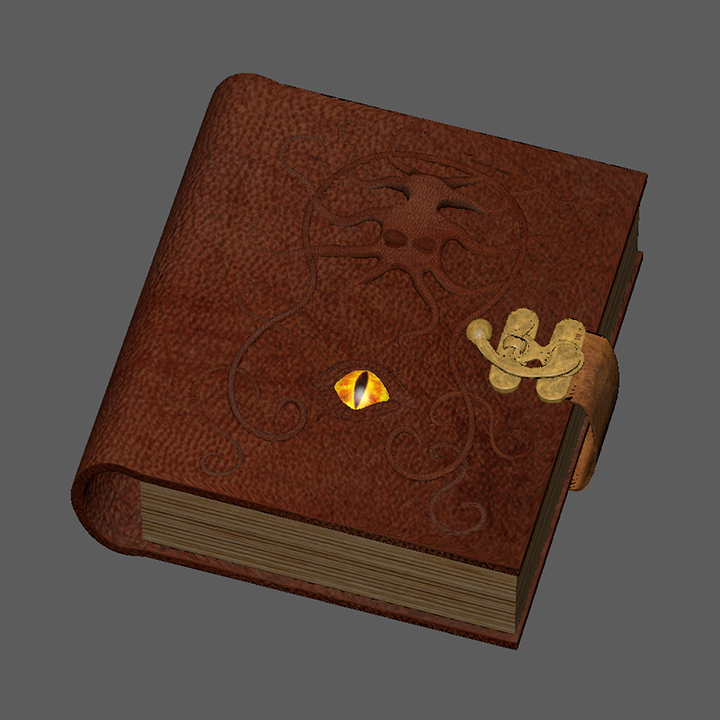
So that’s what I got so far! I’ll continue working out the UV mapping for the rest of the shapes, it’s pretty tedious. And I plan to edit the textures in Photoshop to add more scratches to get a more organic look.
